Yesterday, we took our own family pictures for the first time! And guess what? It was beyond easy and they turned out pretty good for first timers.

With an approaching deadline for Christmas cards and crazy schedules, it was pretty important we take the pictures immediately. I didn’t have the time to schedule a photographer and wait for the edited photos to come back to me. So I took matters into my own hands and I’m so happy I did.
I will be taking our own pics from now on.
Benefits of taking your own family pictures:
- It’s free. Especially if you already own a nice camera.
- It’s convenient. You don’t have to work around a photographer’s availability.
- You can take as many shots and redo’s as you want.
- You can see the progress of the pictures as you take them instead of just hoping the photographer got some nice shots.
- You know your flattering angles and poses & can easily avoid the unflattering ones.
- You have more creative control.
- You get your pictures back immediately without having to wait to see the edits.
What equipment you need:
First, let’s go over the gear. Phone cameras are getting pretty high tech these days. I’m sure you could use one. I personally have a 5 year old phone, so I don’t think the quality would be at all close to what I get with my dslr.
DSLR– I use a Nikon d3400. I’m by no means a professional photographer. From what I hear it’s a pretty beginner level DSLR, but it works really well.
This is a crop sensor camera. In the future, I would love a full frame camera, but for now this works.
Also, it’s tempting to buy the kit, but go for the “body only” option since you’ll most likely have to buy additional lenses anyway. The kit lenses aren’t the best.
Lens– I use a 50 mm lens when outdoors, and a 35 mm lens when indoors. These are the 2 that I own.
The reason I say outdoor vs indoor lens is just because a 50mm is more zoomed in than a 35mm. When I am inside, that is too close up of a shot so I prefer the 35mm.
There are tons of other great lenses. These seem to be the most versatile for me right now and lenses can get expensive.
Tripod– I have the Vanguard Alta Pro Tripod and it is so great. I bought it in 2018 and LOVE it. After dealing with cheap, unstable tripods in the past, I decided to splurge on this one.
Wireless Remote– It is helpful to have a wireless remote. I brought mine as a backup, but I actually only used the self timer option on my camera.
That’s it! That’s all you need. It’s all pretty basic stuff and is worth the investment if you don’t have it all yet. Imagine all the great family shots you will get over the years, and the money saved from not having to pay for a photographer!

How to take the pictures
First you have to pick a location. Think of hikes you may have gone on. Anything with a pretty background. Ideally you want something where you can put some distance between your family and the background so that you can get a nice blurred background.
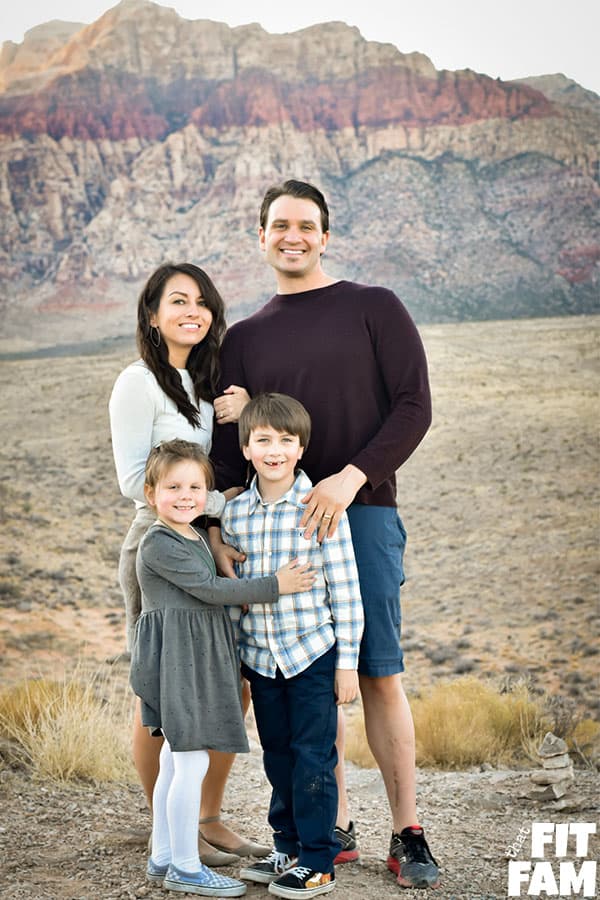
I picked Red Rock Canyon, which has these beautiful mountains in the back. The mountains are miles away, so it works perfectly.
Next, aim for the hour before sunset. This is when the light will be the most even and flattering. I believe golden hour is technically the last 40ish minutes before sunset, but it is good to get there early to set up.
Put your camera on the tripod at the desired height and make sure the self timer settings are in place. I set my camera to take 9 shots with 5 seconds in between each shot and a 10 second initial delay for me to get into place.
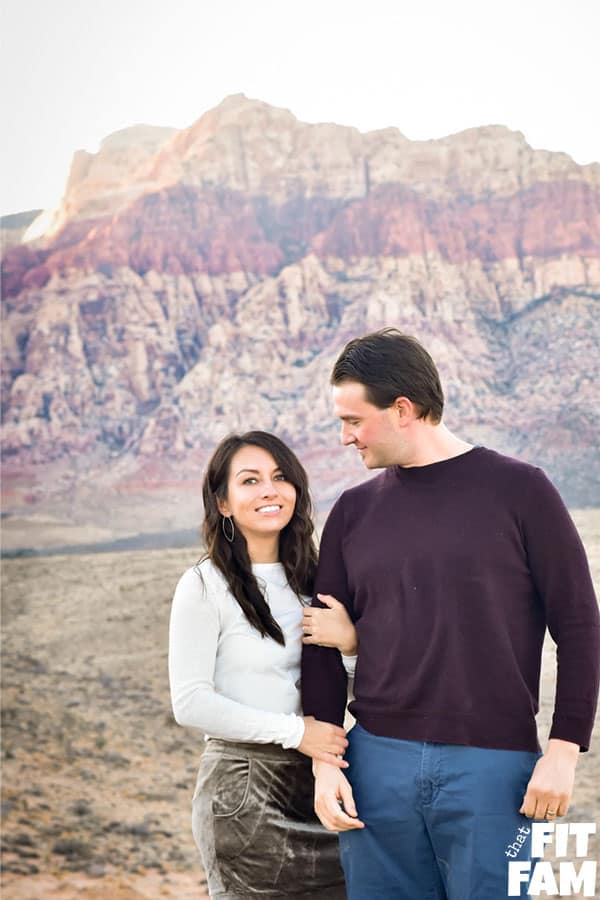
Before starting the pictures, set your focus. I had my husband stand in the ideal place so that I could make sure my settings were right and he was in perfect focus. My kids have less patience so I added them in after I was ready to go.
The way aperture works is that anyone on the same plane, should be in focus. While anyone/anything behind or in front (i.e. on a different plane) would be less in focus.
This means if you want more bokeh, you can widen your aperture and achieve that while still having everyone in focus if they’re all on the same focal plane.
We have 4 in our family and our kids are typically in front of us, so I set that aperture to f/4 to make sure we were all in focus.
With the background so far away, it still worked well for the slight blur. Sometimes I will bump it to f/5 too just because kids are crazy, and I’m unsure how close they will stay to us during pictures.
If I’m taking a picture of just 1or 2 people, I can set it to a lower aperture for a cooler effect and just really make sure I get the eyes in focus before I snap the shot.
Amy and Jordan, say they tend to hang out around f/4 for group shots and up to f/5.6 or f/8 if they have 3 rows of people.
Additionally they mention to set your focus on the first row. Your camera will keep things immediately behind that focal point more in focus than the things in front of it. So if you focused on the back row or the middle row, you may have some slightly blurry family members.
Again, I’m definitely not a professional, but this is what I’ve learned from personal experience and research on the subject.
Get clicking! Ideally, have some shots from Pinterest or Instagram in the back of your mind so you know what poses you are doing. You can also use the remote I mentioned, I prefer the self timer so that I don’t have to worry about hiding the remote.
Picking the location and outfits.
When it comes to the location, it is extremely easy to google picture locations in your area. I also love stalking photographers in the area to see where they often go.
For the outfits, I don’t like to be too matchy-matchy.
Also, one thing I’ve learned is to avoid too form fitting of clothes.
You don’t necessarily need your outfit to be super flowy, just not skintight. Whenever I’ve done more form fitting, I’ve found that I am more critical of the poses or if there’s bra bulge, etc.
These are just recommendations and preferences. The best thing is just to make sure you feel comfortable and confident in whatever you choose to wear.

Editing
To edit the final shots, I use lightroom.
I love their white balance selector tool and use it as a starting point, then move the slider in the direction I need until I get the correct coloring.
I personally, loved adding the vignette preset after all was said & done. It is very subtle, but it adds a little something extra.
In the past I have use picmonkey and loved that tool.
This is just our first shoot that we’ve done ourselves. I’m excited to get better and improve. I already know that next time I will be better prepared with more poses in mind and I will make sure not to cut off our feet like I did in a few of the shots, oops..
Now of course, I don’t want to take anything away from real photographers.
We have had some amazing pictures that were well worth the money. That being said, I love this DIY option for us because it means we will get to take family pictures more often since it’ll be free.
I hope this was helpful and that it inspires you to take some of your own family pics!